Our repipe process.
At OC REPIPES, we are dedicated to make a complicated process like repiping, easy and worry-free. Your hire only one contractor, who takes care of everything— acquiring necessary permits, repiping the home and patching walls and ceilings .
Fill up the form to get a Free Repipe Quote.
01. Pre-repipe inspection
In the beginning of every repipe, the foreman walks through the house and takes notes of any pre-existing conditions such as leaking drain pipes, dings and scratches on walls and cabinets, etc. This procedure eliminates the needless finger-pointing if something gets damaged during the repipe.
02. Dust mitigation
Before any work may start, we put a dust-mitigation system in place. All flooring is covered with tarps, special carpet film is placed over all areas with carpet flooring. Work areas are contained with plastic sheeting and personal belongings are covered too. Additionally all drywalls cuts are made with specializzed cutting tools, attached to certified HEPA vacuums. Creating a safe environment for workers and homeowners is always a priority.
03. Pipe Installation
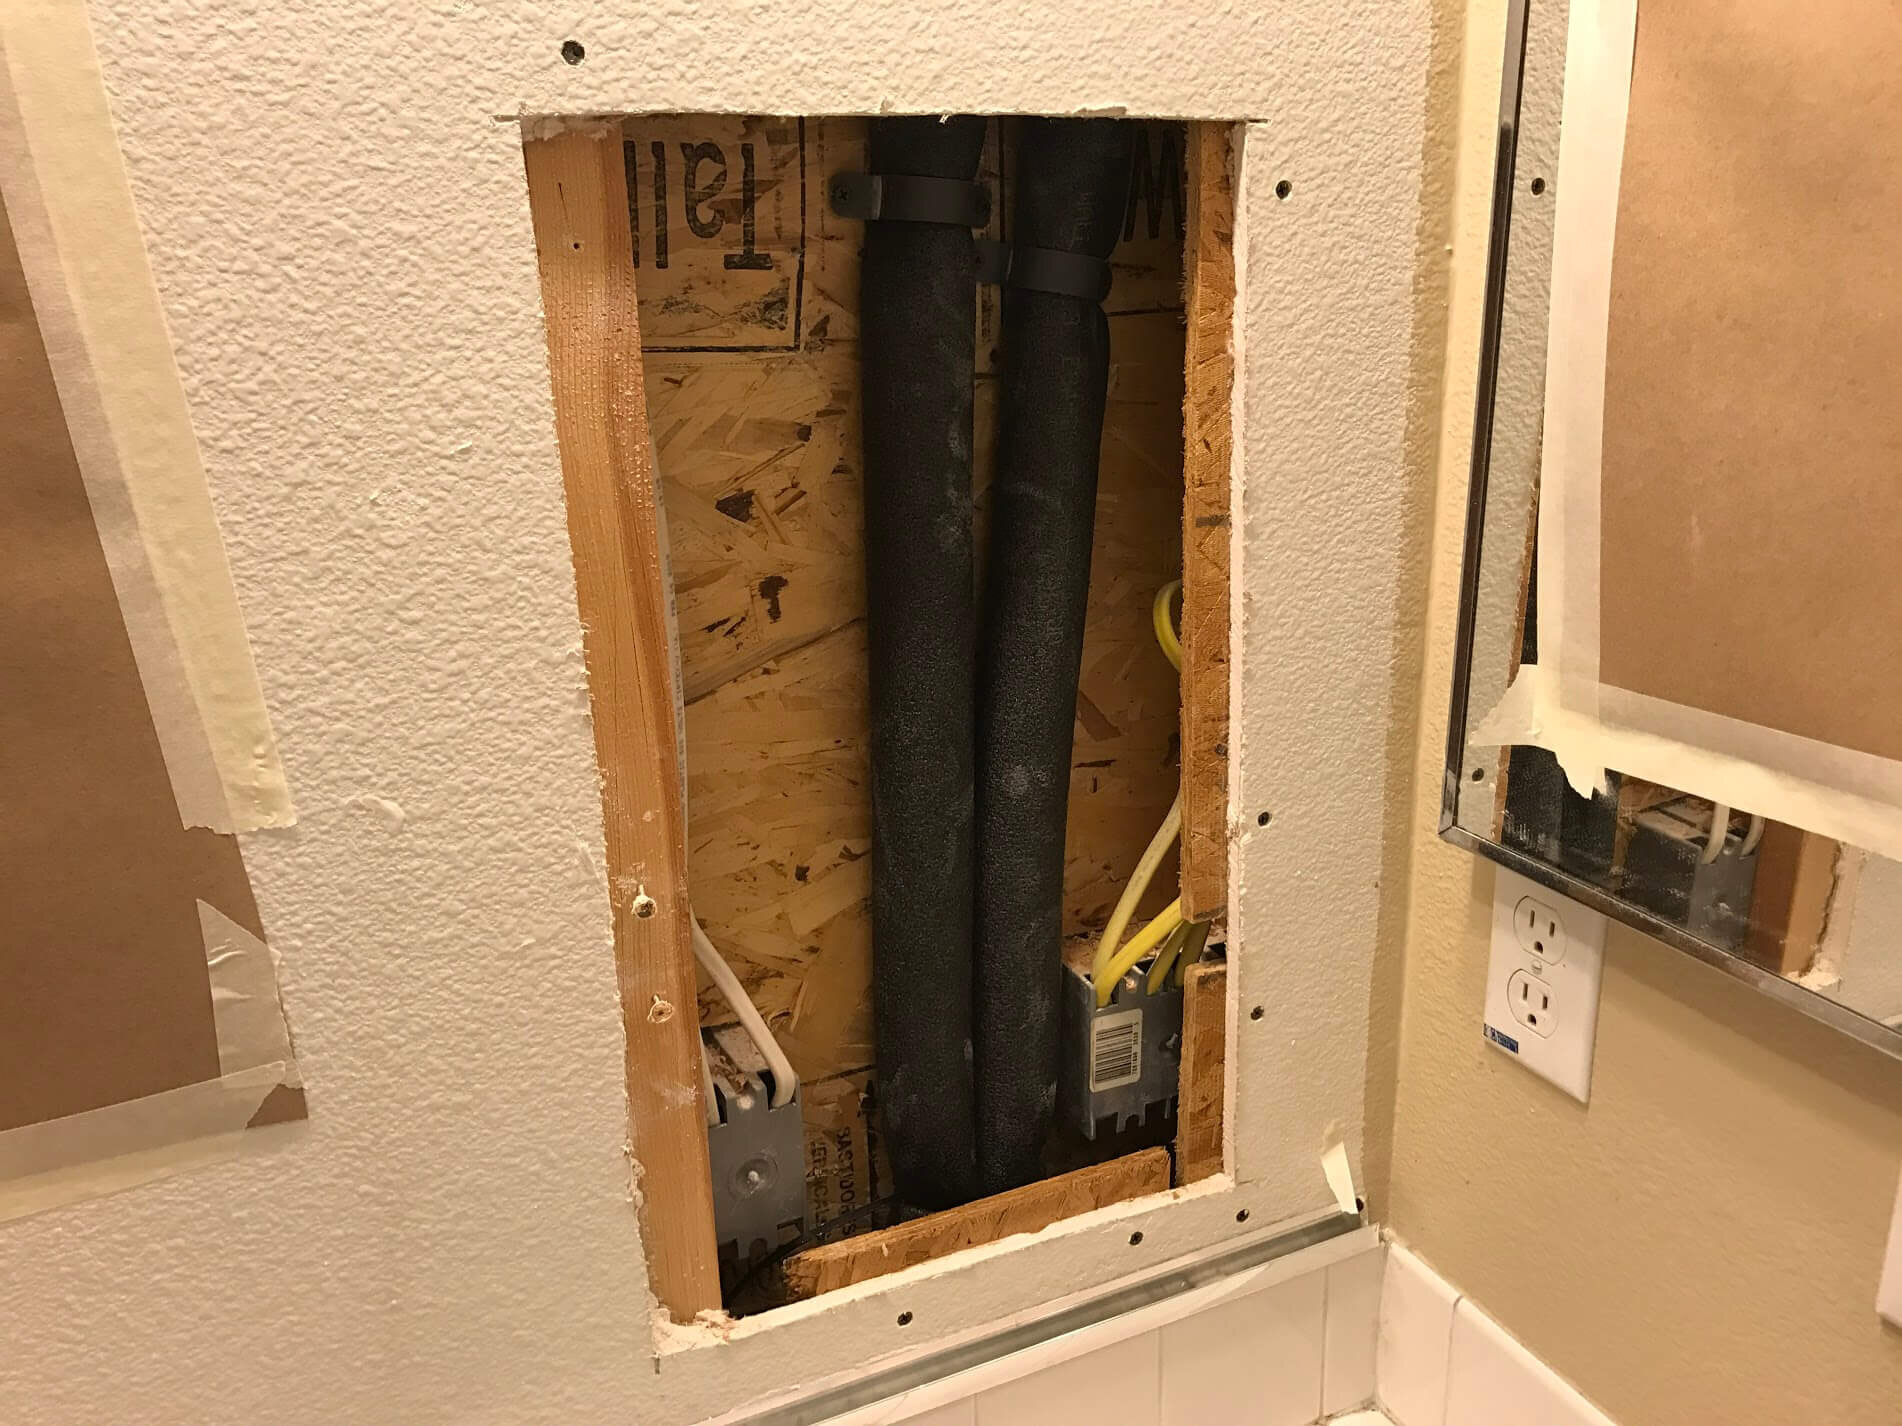
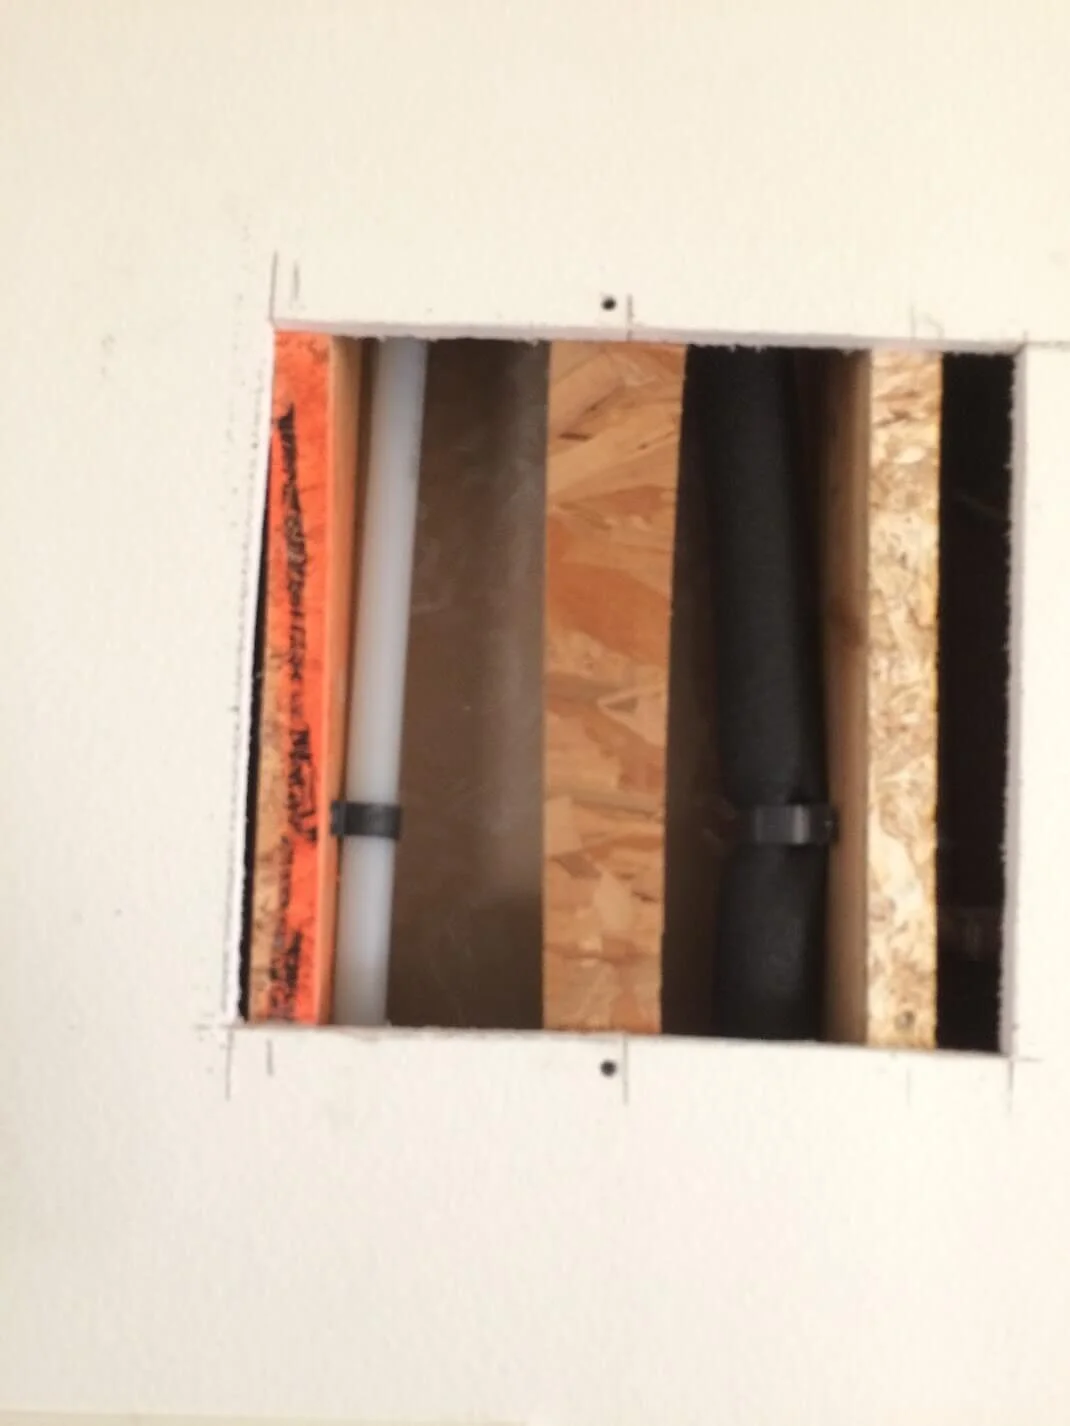
After all the drywall cuts have been made, the new Uponor piping system is being installed alongside the pre-existing plumbing system (day 1). This allows for a minimal water service disruption on day 2.
04. Water shut-off
After installing most of the new piping on day 1, day 2 starts with a water shut-off. All final connections to showers, water heater and main water service are completed. Any left-over strapping and pipe insulating is finished. The new Uponor PEX-a or Copper system is pressure tested at over 100psi.
05. Inspection
City inspection takes place on day 3. After the inspection, all drywall pieces are put back. Minimum of 2 plaster coats are applied over each patch to ensure smooth surface and blending with rest of the wall.